零基础用 Hexo + Matery 搭建部署博客
一、Hexo
Hexo 是一个快速、简洁且高效的博客框架。 Hexo 使用 Markdown(或其他标记语言)解析文章,在几秒内,即可利用靓丽的主题生成静态网页。
1.1 依赖
Node.js
根据下载指南下载安装适合当前系统的 Node.js 和 npm(Node.js 包管理器)。
安装完成后,打开终端,输入以下命令,检查是否安装成功:1
2
3# 需要大于10.13,建议使用 Node.js 12.0 及以上版本
node -v
npm -v如果显示版本号,则说明安装成功。
Git
根据下载指南下载安装适合当前系统的 Git。
安装完成后,打开终端,输入以下命令,检查是否安装成功:1
git --version如果显示版本号,则说明安装成功。
1.2 快速使用
1 | |
现在,打开浏览器,访问 http://localhost:4000,即可看到博客本地已经搭建成功。
1.3 目录说明
初始化完成后,hexo 会在当前目录下生成一个名为 <folder> 的文件夹,该文件夹包含以下内容:
_config.yml:网站的配置文件,用于配置博客的标题、描述、作者等信息。package.json:应用程序的信息。scaffolds:存放博客文章的模板文件夹,用于生成博客文章的框架。source:资源文件夹,是存放用户资源的地方。除_posts文件夹之外,开头命名为(下划线)的文件/文件夹和隐藏的文件将会被忽略。Markdown和HTML文件会被解析并放到public文件夹,而其他文件会被拷贝过去。新创建的帖子被保存到source/_post文件夹。themes:主题文件夹,用于存放博客的主题。
1.4 命令说明
详细说明请参考指令
1.4.1 常规命令
| 命令 | 语法 | 描述 | 选项 |
|---|---|---|---|
| init | hexo init [folder] |
新建一个网站。如果没有设置folder,Hexo 默认在目前的文件夹建立网站。 |
无 |
| new | hexo new [layout] <title> |
新建一篇文章。如果没有设置layout,默认使用_config.yml中的default_layout参数代替。使用布局 draft 来创建草稿。如果标题包含空格的话,请使用引号括起来。 |
-p, --path: 自定义文章路径-r, --replace: 替换当前文章-s, --slug: 自定义文章 URL |
| generate | hexo generate |
生成静态文件。 | -d, --deploy: 生成完成后部署-w, --watch: 监视文件变动-b, --bail: 异常时抛出错误-f, --force: 强制重新生成-c, --concurrency: 设置同时生成文件的最大数量 |
| publish | hexo publish [layout] <filename> |
发表草稿。 | 无 |
| server | hexo server |
启动服务器,默认访问http://localhost:4000/。 |
-p, --port: 重设端口-s, --static: 只使用静态文件-l, --log: 启用日志 |
| deploy | hexo deploy |
部署网站。 | -g, --generate: 部署前生成 |
| render | hexo render <file1> [file2] ... |
渲染文件。 | -o, --output: 输出目标地址 |
| migrate | hexo migrate <type> |
从其他博客系统迁移内容。 | 无 |
| clean | hexo clean |
清除缓存文件(db.json)和已生成的静态文件(public)。 |
无 |
| list | hexo list <type> |
列出所有路由。 | 无 |
| version | hexo version |
显示版本信息。 | 无 |
| config | hexo config [key] [value] |
列出或修改网站配置(_config.yml)。 |
无 |
1.4.2 全局选项
| 选项 | 描述 |
|---|---|
--safe |
安全模式:不加载插件和脚本 |
--debug |
调试模式:显示调试信息并记录到debug.log |
--silent |
简洁模式:静默输出 |
--config |
自定义配置文件的路径(可接受逗号分隔的列表) |
--draft |
显示source/_drafts文件夹中的草稿文章 |
--cwd |
自定义当前工作目录的路径 |
二、主题安装
2.1 安装 Matery 主题
2.1.1 下载
1 | |
2.1.2 配置
2.1.2.1 基础配置
修改 Hexo 根目录下的_config.yml 文件
1 | |
2.1.2.2 新建页面类型
| 页面类型 | 命令 | 生成文件 | 关键配置项 | 关联文件 |
|---|---|---|---|---|
| 分类页 | hexo new page "categories" |
source/categories/index.md |
需设置 type: "categories" |
无 |
| 标签页 | hexo new page "tags" |
source/tags/index.md |
需设置 type: "tags" |
无 |
| 关于页 | hexo new page "about" |
source/about/index.md |
需设置 type: "about" |
无 |
| 留言板 | hexo new page "contact" |
source/contact/index.md |
需设置 type: "contact" |
需配置第三方评论系统 |
| 友情链接 | hexo new page "friends" |
source/friends/index.md |
需设置 type: "friends" |
source/_data/friends.json |
| 404 页面 | 手动创建 | source/404.md |
需设置 type: "404" |
无 |
基础页面配置(分类/标签/关于/留言板/404)
文件路径:source/[page_type]/index.md1
2
3
4
5
6---
title: 页面标题
date: 2023-01-01 00:00:00
type: "[page_type]" # categories/tags/about/contact
layout: "[page_type]"
---友情链接数据文件
文件路径:source/_data/friends.json1
2
3
4
5
6
7
8
9[
{
"avatar": "http://example.com/avatar.jpg",
"name": "好友名称",
"introduction": "好友简介",
"url": "http://example.com/",
"title": "前去学习"
}
]404 页面特殊配置
文件路径:source/404.md1
2
3
4
5
6
7---
title: 404
date: 2018-09-30 17:25:30
type: "404"
layout: "404"
description: "Oops~,我崩溃了!找不到你想要的页面 :("
---
2.1.2.3 其他配置
其他配置可参考Matery 主题配置详细说明
2.2 其他主题推荐
更多主题请查看 Hexo 官网。
三、部署
3.1 部署到 Github Pages
在 Github 上创建一个
Public类型仓库,仓库名<repo-name>不重复即可。在博客项目根目录下创建个文件,保证仓库已有分支,假设为
main分支。在博客项目
settings->Pages中,将Branch设置为main分支,点击Save保存。(首次部署需要等待一段时间)等待部署完成后,复制
Github Pages提供的链接,形如https://<github-name>.github.io/<repo-name>,后续通过该链接在浏览器中打开即可访问博客。在博客项目根目录下安装
hexo-deployer-git插件:1
npm install hexo-deployer-git --save修改博客配置文件
_config.yml,添加以下内容:1
2
3
4
5deploy:
type: git
repo: git@github.com:<github-name>/<repo-name>.git
branch: main
url: https://<github-name>.github.io/<repo-name>执行以下命令,将博客部署到 Github Pages:
1
hexo clean && hexo g -d
部署完成后,即可通过 https://<github-name>.github.io/<repo-name> 访问博客。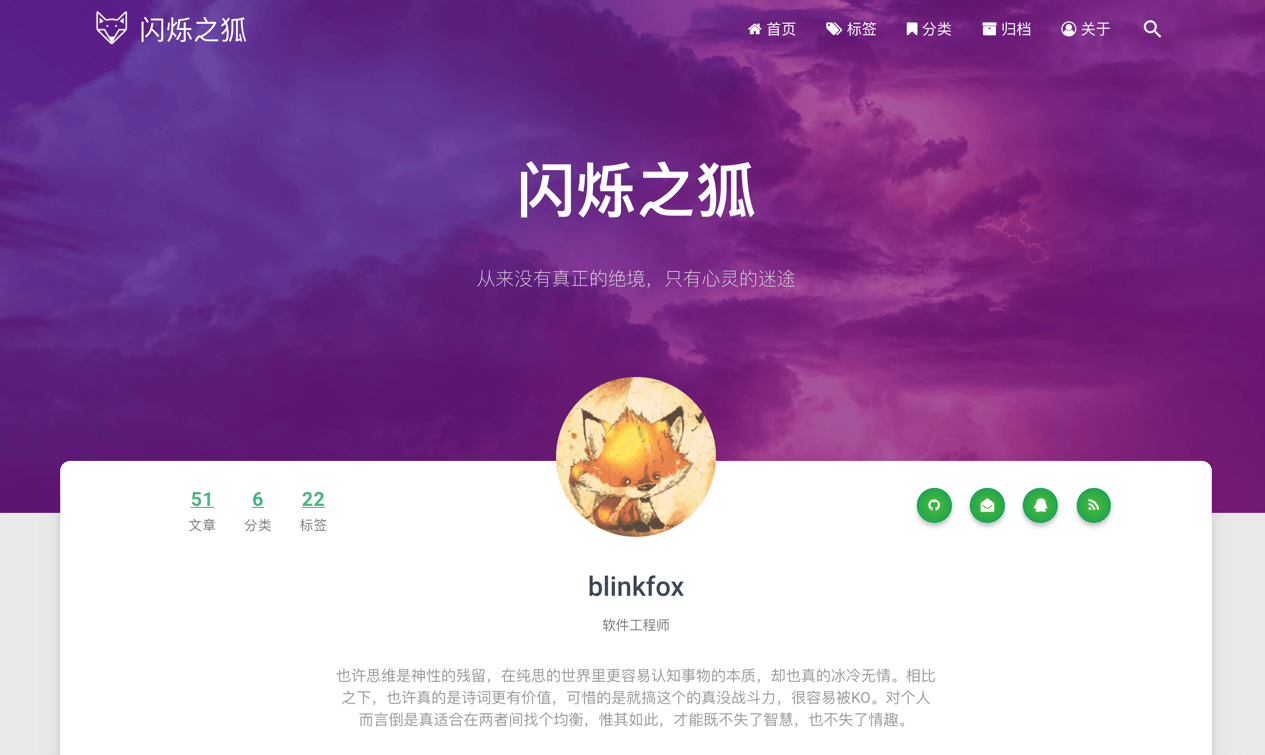
3.2 部署到服务器
在服务器上创建一个目录
hexo.git,用来通过Git仓库管理博客文件。1
2
3mkdir -p ~/workspace/hexo.git
cd ~/workspace/hexo.git
git init --bare在
hooks目录下创建一个文件post-receive,并添加以下内容:1
2
3
4
5
6
7
8
9
10
11
12
13
14
15
16
17
18
19
20
21
22
23
24
25
26
27
28
29
30
31
32
33
34
35
36
37
38
39
40
41
42
43
44
45
46
47
48
49
50
51
52
53#!/bin/bash
# 安全配置:遇到错误立即退出
set -e
# 基础配置
TARGET="/var/www/blog"
GIT_DIR="/root/workspace/hexo.git"
BRANCH="main"
LOG_FILE="/var/log/hexo-deploy.log"
# 创建日志目录
mkdir -p $(dirname "$LOG_FILE")
touch "$LOG_FILE"
chown root:root "$LOG_FILE"
# 重定向所有输出到日志文件
exec >> "$LOG_FILE" 2>&1
echo "====== Deployment started at $(date) ======"
# 验证Git仓库
if [ ! -d "$GIT_DIR/objects" ]; then
echo "❌ 错误:Git仓库不存在或已损坏" | tee -a "$LOG_FILE"
exit 1
fi
# 主部署逻辑
while read oldrev newrev ref
do
if [[ "$ref" = "refs/heads/$BRANCH" ]]; then
echo "▶️ 检测到 $BRANCH 分支推送 (旧版本: $oldrev -> 新版本: $newrev)"
# 1. Git 检出(root用户直接操作)
echo "🔄 正在更新工作目录..."
git --work-tree="$TARGET" --git-dir="$GIT_DIR" checkout -f "$BRANCH" || {
echo "❌ Git检出失败";
git --git-dir="$GIT_DIR" status;
exit 1;
}
# 2. 修复Web文件权限
echo "🔒 设置文件权限..."
chown -R www-data:www-data "$TARGET"
find "$TARGET" -type f -exec chmod 644 {} \;
find "$TARGET" -type d -exec chmod 755 {} \;
echo "✅ 部署成功完成!"
else
echo "⏩ 跳过 $ref 分支(仅部署 $BRANCH 分支)"
fi
done
echo "====== Deployment finished at $(date) ======"
echo ""#给
post-receive文件添加执行权限:1
chorm +x post-receive修改博客配置文件
_config.yml,添加以下内容:1
2
3
4
5deploy:
type: git
repo: git@<server-ip>:~/workspace/hexo.git
branch: main
url: https://<server-ip>/blog # 使用域名也行进行 nginx 配置
需要将您的域名进行备案,并添加解析到您的服务器 IP 地址上。1
2
3
4
5
6
7
8
9
10
11
12
13
14
15
16
17
18
19
20
21
22
23
24
25
26
27server {
listen 80;
server_name <你的域名>;
return 301 https://$host$request_uri; # 强制跳转 HTTPS
}
server {
listen 443 ssl http2; # 启用 HTTP/2
server_name <你的域名>;
ssl_certificate /etc/letsencrypt/live/<你的域名>/fullchain.pem;
ssl_certificate_key /etc/letsencrypt/live/<你的域名>/privkey.pem;
root /var/www/echo-silence-blog;
index index.html;
location / {
try_files $uri $uri/ =404;
}
# 静态资源缓存
location ~* \.(css|js|png|jpg|jpeg|gif|ico|svg|woff|woff2|ttf)$ {
expires 1y;
add_header Cache-Control "public";
access_log off;
}
}1
2nginx -t
nginx -s reload执行以下命令,将博客部署到服务器:
1
hexo clean && hexo g -d
部署完成后,即可通过 https://<server-ip>/blog 访问博客,或者通过你的域名进行访问。
四、总结
- 本地搭建博客,需要安装 Node.js 和 Hexo。
- 主题推荐使用 Matery,配置简单,功能强大。
- 部署到 Github Pages,需要创建一个
Public类型的仓库,并配置hexo-deployer-git插件。 - 后续美化博客,可以参考主题的官方文档,进行个性化配置。然后通过
hexo clean && hexo g -d命令,将博客部署到 Github Pages。 - 如需部署到自己的服务器,需要自己配置域名解析,并上传博客文件到服务器。